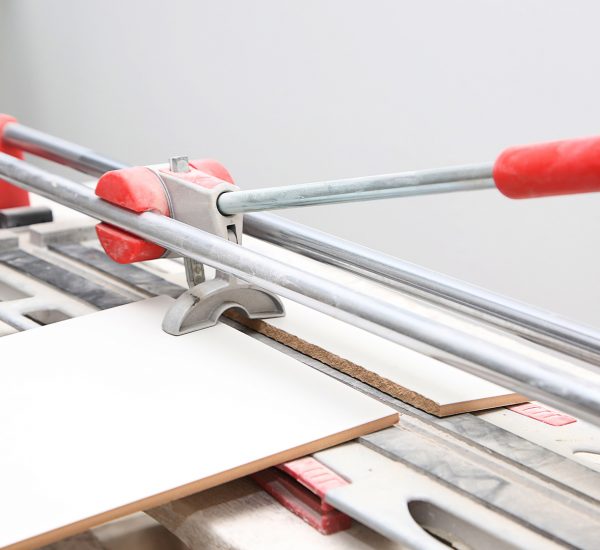
Loose tiles can be a nuisance, detracting from the aesthetic and functionality of your tiled surfaces. Whether they’re on your floor, walls, or elsewhere, you don’t necessarily have to start over to fix them. This guide will walk you through the steps to securely reattach loose tiles, ensuring a smooth, enduring finish without the need to retile the entire surface.
Understanding Why Tiles Become Loose
Before diving into the repair, it’s crucial to understand why tiles might become loose:
- Poor Installation: Insufficient adhesive, incorrect adhesive, or insufficient prep work.
- Subfloor Movement: Flexing or shifting can cause tiles to pop up.
- Environmental Factors: Temperature changes, humidity, or water damage.
Essential Tools & Materials
- Adhesive: Tile adhesive or mortar.
- Grout: Matching the existing grout colour.
- Tools: Notched trowel, grout saw, chisel, or putty knife.
- Safety Gear: Gloves and protective eyewear.
Step-by-Step Repair Process
- Identify and Clean the Loose Tile:
- Carefully tap tiles to find any that sound hollow or are visibly loose.
- Clean the area around the loose tile.
- Remove the Loose Tile:
- Gently pry the tile up using a putty knife or chisel.
- Be careful not to damage the tile or surrounding ones.
- Clean the Back of the Tile and Substrate:
- Remove old adhesive from the back of the tile and the substrate.
- Ensure both surfaces are clean, dry, and smooth.
- Apply New Adhesive:
- Spread adhesive on the substrate using a notched trowel.
- Press the tile firmly back into place, ensuring it aligns with adjacent tiles.
- Allow to Set:
- Wait for the adhesive to dry according to the manufacturer’s instructions.
- Reapply Grout:
- Remove any old, loose grout around the tile.
- Mix and apply new grout, matching the colour to the existing grout.
- Wipe away excess grout and polish the tile.
Tips for a Successful Repair
- Match Materials: Ensure the new adhesive and grout match the type used in the original installation.
- Test Tiles: Regularly check other tiles to catch any loosening early.
- Maintain Your Tile: Regular cleaning and sealing can extend the life and beauty of your tiles.
FAQs
- Can all types of tiles be reattached using this method? Most types, yes, but some delicate tiles may require special care or adhesives.
- How long do I need to wait before using the repaired area? It varies by adhesive, but it typically 24-48 hours for it to fully set.
- What if the substrate is damaged? If the subfloor or wall beneath the tile is damaged, it may need repair before reattaching the tile.
Conclusion
Fixing loose tiles doesn’t have to mean a complete overhaul. With the right tools, materials, and techniques, you can effectively reattach tiles and enjoy a refreshed, stable surface. Remember to assess the cause of the issue to prevent future tiles from loosening and maintain the tiled area to keep it looking its best.
Additional Resources
For further tips, tricks, and DIY advice, keep up with our Tiling Advice blog. We’re here to help you enhance and maintain your tiled surfaces with confidence and style.


