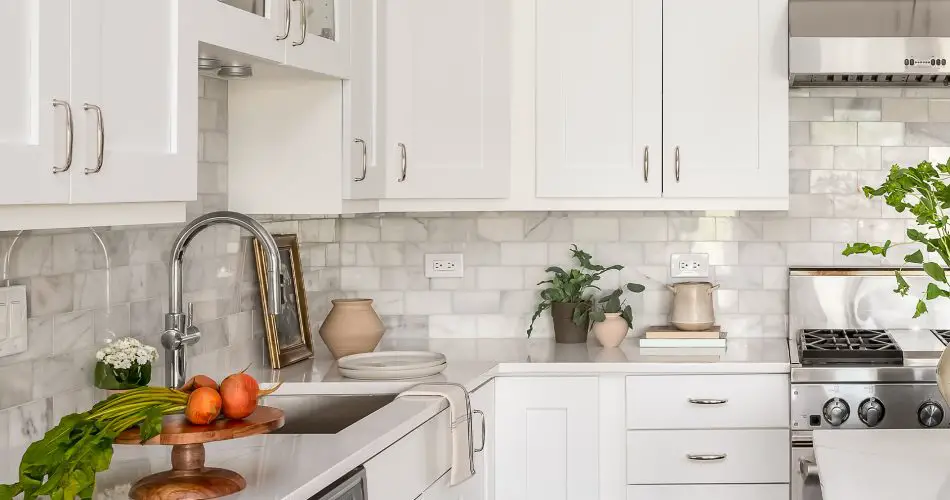
Embarking on a tiling project requires meticulous preparation to ensure a smooth, durable finish. Whether you’re sprucing up the kitchen and bathroom or adding a unique touch to your hallway, the key to a successful tiling project lies beneath the tiles – the surface. This guide will walk you through the essential surface preparation steps to ensure your tiling project stands the test of time.
Understanding Your Surface
Before you begin, it’s crucial to understand the type of surface you’re working with. Surfaces can range from concrete, and plywood, to existing tiles, and each requires a unique approach.
- Concrete: Ensure it is clean, dry, and level. Look out for cracks or uneven areas.
- Plywood: Must be securely attached to the subfloor, with no movement. Consider using a backer board for added stability.
- Existing Tiles: Clean thoroughly and check for any loose tiles.
Essential Tools & Materials
Gather the right tools and materials before you start:
- Safety equipment (gloves, goggles)
- Cleaning materials (broom, vacuum, damp cloth)
- Leveling tools (spirit level, measuring tape)
- Repair materials (filler, adhesive)
- Primer (specific to surface type)
Preparing Your Surface: Step-by-Step
- Cleaning the Area:
- Remove all debris, dust, and stains from the surface.
- Ensure the area is completely dry before proceeding.
- Checking for Damages:
- Repair any holes, cracks, or uneven areas.
- For wooden floors, secure loose boards and ensure no movement.
- Levelling the Surface:
- Use a spirit level to check for flatness.
- Apply a self-leveling compound if necessary.
- Priming the Surface:
- Apply a suitable primer to ensure a good adhesive bond.
- Allow the primer to dry as per the manufacturer’s instructions.
- Planning Your Layout:
- Dry lay tiles to plan the layout, considering how tiles will fit at the room’s edges.
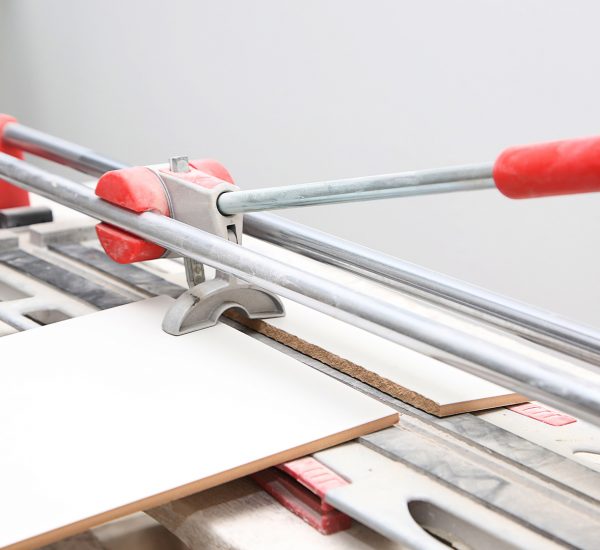
- Mark any cutting lines on the tiles where necessary.
Tips for a Successful Tiling Project
- Take Your Time: Don’t rush the preparation process. A well-prepared surface is key to a successful and durable finish.
- Consider Movement Joints: Especially important in larger areas or where different types of flooring meet.
- Keep Tools Clean: Clean tools ensure a more professional finish.
FAQs
- Can I tile over existing tiles? Yes, but ensure the existing tiles are clean, stable, and well-adhered to the substrate.
- Do I always need to use a primer? While not always necessary, a primer can significantly improve the adhesion and longevity of your tiles.
- How long should I wait after preparing the surface before beginning to tile? This depends on the products used for cleaning, levelling, and priming. Refer to the manufacturer’s instructions for specific drying times.
Conclusion
Preparing your surface for tiling is a critical step that should not be overlooked. Following the detailed steps outlined in this guide sets you up for a successful tiling project that will look great and last for years. Remember, the key to a flawless finish lies in the preparation!
Additional Resources
For more tips and advice, visit our Tiling Advice blog regularly. We cover everything from the latest trends to step-by-step guides for all your tiling needs.


