You’ve tiled. You’ve grouted. And yet things still look a little unfinished. That’s probably because you haven’t yet finished the edges and corners on your tiles. When exposed edges of tiles at the end of a row or column are visible, it can make your tiling look messy and unprofessional. Finishing can help.
Do All Tiles Need Finishing?
No. Tiles that have edges that butt up against other tiles, or against another surface such as a cabinet, don’t need finishing. That’s because their exposed edges are hidden. However, almost every tile along the edge of a wall, or at the top of a splashback, will need finishing for optimal results.
While it’s not mandatory to finish tile edges and corners, it is recommended – firstly, for aesthetic reasons. But even if you think your unfinished tiles look OK, it’s still worth finishing them. Without a finish, there’s nothing protecting the edge of that tile. This can increase the risk of water, moisture, or dirt getting behind the tile, affecting the durability and performance of the adhesive.
The only type of tile where finishing isn’t necessary is glass tile. Many glass tiles will come with a finished and unfinished edge. Tiles can be laid in such a way that the finished side is located on edges and in corners. This means there’s no need to install additional edging solutions unless you want to.
Tile Edging Options
Perhaps the most common tile edging option is a bullnose finish. This is an edging option that’s designed to match your tiles, and most manufacturers offer a bullnose solution to complement each tile in their range. For example, if you’ve selected a porcelain tile, you should be able to buy a porcelain tile edge finishing in the same style. Similarly, if you’re using ceramic tiles, look for a ceramic tile edging trim from the same manufacturer which matches nicely.
There are two types of bullnose finish:
1. Bullnose Tile Trim
This is a thin edging strip made from tile that’s designed to be placed along the edges of your tiles. It has a rounded edge to create a finished look. Essentially, it’s like a border you can put around tiles.
2. Bullnose Tiles
Some tile manufacturers make special bullnose tiles. Unlike bullnose trim, this is a full-size tile that has the rounded, finished edge built in. You can also get these with two bullnose tile trim corners.
Both types of bullnose option can be used for a wide range of applications. You can use them for corners of walls, or for splashbacks in the kitchen. They can even be used around the bathtub.
Alternatives To Bullnose Tile Edges
While bullnose finishing is very popular, not all tile ranges will include matching bullnose tiles or trim. Some people also don’t like the look of bullnose solutions. Fortunately, there are some alternatives:
1. Tile Edging Strip
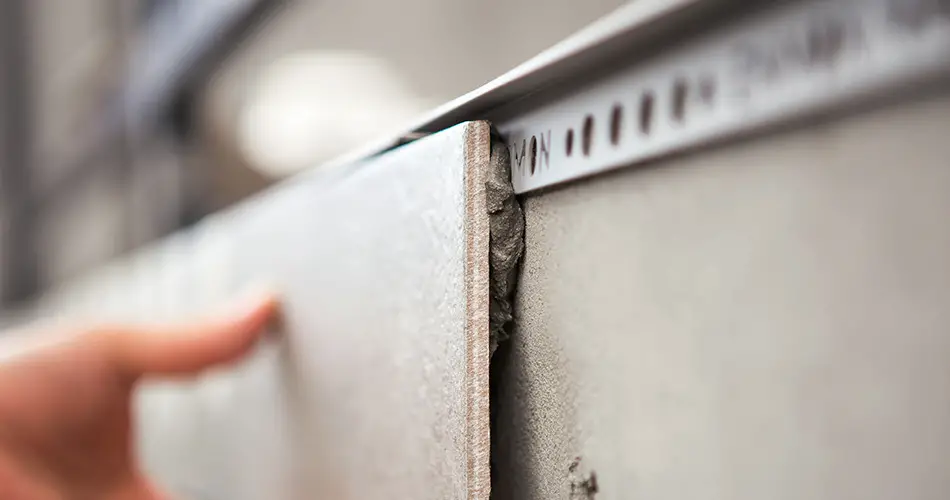
Edging strip, or tile trim, is very similar to bullnose trim. These are not designed to perfectly match a tile, so they’re available in a wider variety of options. Metal trim is common. It’s simply installed where needed, and can be used on walls, floors, in showers, and even outdoors if the material is weather resistant. In most cases, you may wish to look for tile trim that matches the thickness of your tiles for a smooth, streamlined look. However, this is down to personal preference.
2. Pencil Tile Trim
Pencil liners are named for their resemblance to pencils. They are long, thin and rounded, having an almost cylindrical shape. They are designed to create a raised border along the edges of tiles. Pencil tile trim is a very popular option for mosaic tiles as it’s thin and delicate-looking, matching with the small mosaics of the pattern. It also works well for mosaics as it can be used to highlight a break in the pattern. Pencil tile trim is very easy to find in most DIY stores that sell tile and tiling accessories.
How To Finish A Tile Without Trim
If you’re not keen on using a trim piece or finished tile to complete the look, there are a few other options to consider. The first is to simply finish the edges of the tiles with grout. However, it can be very, very difficult to make this look clean and tidy, so it’s best used in more out-of-the-way places. It’s not recommended to finish with grout anywhere that’s exposed to lots of wear and tear, either. That’s because, without being surrounded by tile, there’s nothing to protect the grout. It may start to chip and crack quite quickly as it’s exposed, meaning you’ll need to re-grout the area regularly.
A better option is to finish tile edges with caulk. This is a very straightforward and very cost-effective solution. To do this, just use a regular caulk tube or syringe to lay a thin bead of caulk along the edge of the tile. It’s the same as if you were sealing a windowsill. There’s a huge benefit to using caulk: water resistance. Caulk will reduce the risk of water and moisture getting behind the tile, helping to extend its lifespan. It’s an excellent choice for high-moisture applications like kitchens and showers.
How To Install Tile Trim
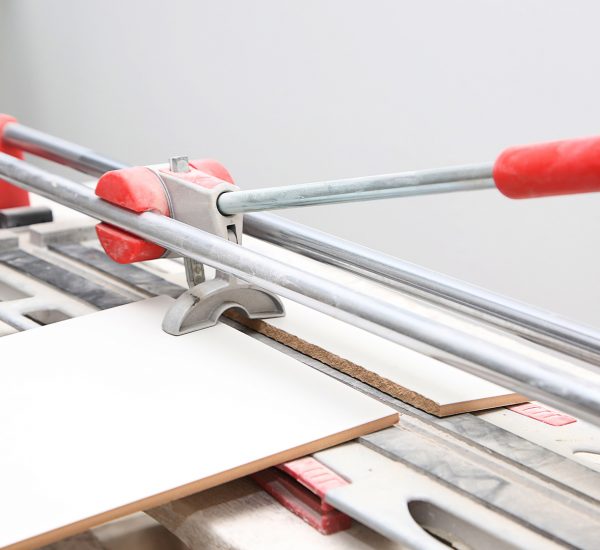
Once you’ve planned, measured, and purchased your tile trim or edging, you’ll need to cut it to the size that you need. When cutting trim for length, simply cut at a 90-degree angle. However, when cutting for wall edges and bases, cut pieces at a 45-degree angle so they butt up against the next.
When all trim pieces are cut to size, they can be attached to the wall. You can use your regular tile adhesive for this, as long as the adhesive is suitable for the space (for example, indoor and outdoor adhesive). Apply adhesive to the area of the wall or floor where the trim will be placed, and position the trim as needed. Press firmly to ensure that the edging adheres well and won’t move or shift.
Allow the adhesive to dry for 24 hours, or as recommended by the manufacturer. Once fully dry, you can grout any spaces. Follow up with a grout sealant which will help keep grout looking good longer.


