A kitchen backsplash not only protects your walls from splatters and spills but also adds a touch of style and personality to your space. If you’re looking to upgrade your kitchen by tiling a backsplash, you’ve come to the right place. In this comprehensive guide, we’ll walk you through the step-by-step process of tiling a kitchen backsplash like a professional, ensuring a beautiful and durable result.
Step 1: Plan and Prepare
Start by measuring the area where you want to install the backsplash. Take accurate measurements and calculate the number of tiles needed, factoring in any cuts or design patterns. Next, prepare the surface by cleaning it thoroughly and ensuring it’s smooth and free of any debris or grease. If necessary, use a primer to create a suitable base for tile adhesion.
Step 2: Choose Your Tiles and Design
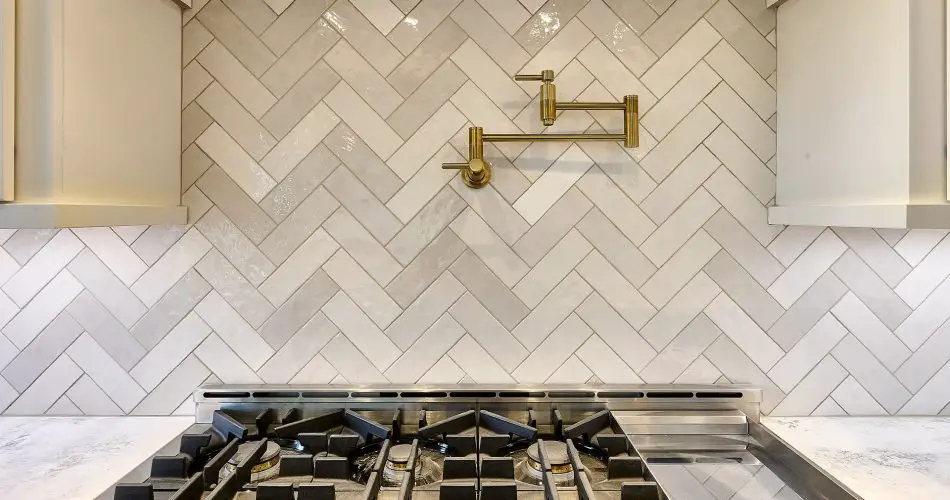
Select the tiles that complement your kitchen’s style and color scheme. Consider factors such as size, material, and texture. Ceramic, porcelain, or glass tiles are popular options for kitchen backsplashes due to their durability and ease of maintenance. Decide on a layout and pattern that suits your aesthetic preferences, whether it’s a classic subway pattern, herringbone, or a custom mosaic design.
Step 3: Gather Your Tools and Materials
Before starting the installation, gather all the necessary tools and materials. This includes tile adhesive, trowels, tile spacers, a tile cutter or wet saw, a grout float, grout, a sponge, and a tile sealer. Having everything ready will streamline the process and prevent interruptions.
Step 4: Apply the Tile Adhesive
Begin by applying tile adhesive to a small section of the wall using a notched trowel. Start at the bottom and work your way up. Spread the adhesive evenly, ensuring complete coverage. Press each tile firmly into the adhesive, using tile spacers to maintain consistent spacing between tiles. Continue this process until the entire backsplash area is covered with tiles.
Step 5: Cut and Trim Tiles
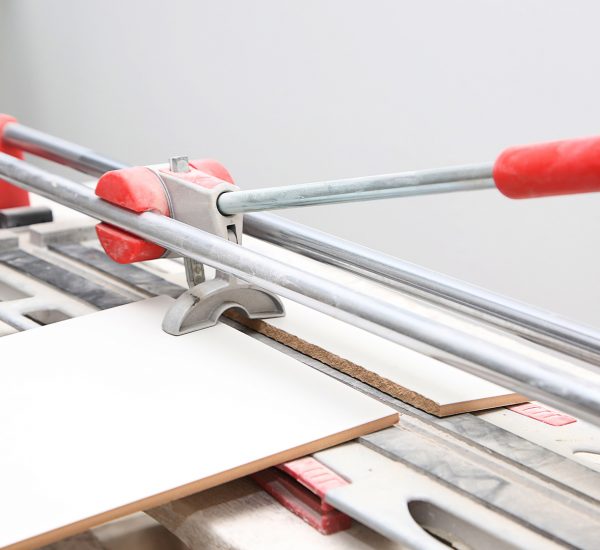
As you approach edges, outlets, or corners, you’ll likely need to cut or trim tiles to fit. Measure carefully and use a tile cutter or wet saw to make precise cuts. Take your time to ensure accurate sizing and smooth edges.
Step 6: Grout the Tiles
Once the adhesive has dried and the tiles are firmly in place, it’s time to grout. Mix the grout according to the manufacturer’s instructions and apply it to the gaps between the tiles using a grout float. Work in small sections, holding the float at a 45-degree angle and pressing the grout into the gaps. Remove excess grout from the tile surface with a damp sponge, rinsing frequently. Allow the grout to cure for the recommended time.
Step 7: Finishing Touches
After the grout has cured, wipe the tiles with a clean, damp cloth to remove any remaining grout haze. Once the tiles are completely dry, consider applying a tile sealer to protect the grout and tiles from stains and moisture. This step helps to prolong the lifespan of your backsplash and simplify future maintenance.
Congratulations! You have successfully tiled your kitchen backsplash. Step back and admire your handiwork, knowing that you’ve added both functionality and beauty to your kitchen space.
Expert Tips for a Successful Backsplash Tile Installation
- Take your time during each step of the process. Rushing can lead to mistakes and uneven results. Remember, precision is key for a professional-looking backsplash.
- Use tile spacers to maintain consistent spacing between tiles. This ensures a uniform and aesthetically pleasing appearance.
- Check the levelness of the tiles regularly. Use a level or straight edge to ensure they are aligned and sit flush with each other.
- Clean excess adhesive or grout from the tile surface immediately. If it dries, it can be difficult to remove and may affect the final appearance.
- Consider using a tile leveling system to eliminate any lippage or unevenness between tiles. This system helps achieve a perfectly flat and even surface.
- Protect your tiles during the installation process. Cover countertops and surrounding areas with drop cloths or plastic sheets to prevent damage from tools or materials.
- Maintain proper ventilation in the room during and after the installation. This promotes proper drying and curing of the adhesive and grout.
- Regularly clean and maintain your backsplash to keep it looking its best. Use non-abrasive cleaners and avoid harsh chemicals that may damage the tiles or grout.
Tiling a kitchen backsplash can be a rewarding and transformative project. By following these steps and expert tips, you’ll be able to create a stunning and functional backsplash that enhances the overall look and feel of your kitchen. Enjoy the process and take pride in your newly tiled backsplash, knowing that you accomplished it like a professional.


