Doing things for yourself around the home is an immensely satisfying activity. There’s something about taking on that shelf or door hanging task without professional help that leaves us feeling both capable and proud. Tiling, however, is a job that many would-be DIYers might shy away from. Still, it is well within the ability of your typical home improvement enthusiast to tackle without the help of a tradesman.
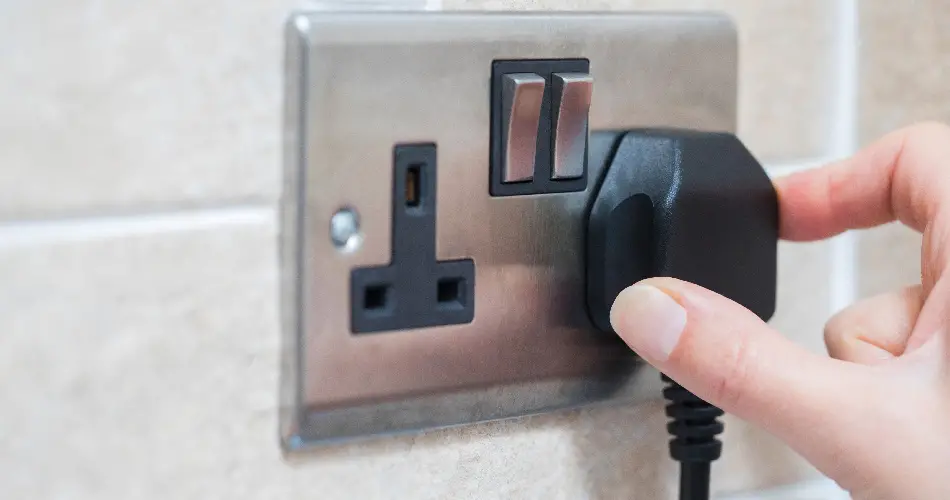
For the most part, it is a straight forward task; however, some areas can give inexperienced tilers problems. One such area is tiling around an electrical socket or light switch. It’s not as difficult as you might think, however, which is why we thought we’d help you with this handy little walkthrough. Read on, and we’ll take you through the process.
Safety First
Before you start any of the tiling process, always make sure you’ve covered your bases in the safety department. Handle freshly-cut tiles with gloves, wear safety glasses when using a tile cutter, make sure your workspace is well ventilated.
Once you get to the socket itself, however, the most important safety precaution you should be taking is ensuring that the power is off. There will be a breaker responsible for those electrical outlets. If you’re not sure which one it is and don’t fancy flicking all your breakers on and off to find the right one, then shut all the power down at the main breaker. We realise this will mean digging out your oven manual because you can’t remember how to set the clock, but it is almost certainly better than being electrocuted. Then again, we haven’t read your oven’s instruction manual.
Preparation
Once your power is off and you’re ready to go, you can start removing the faceplate of your socket or light switch. For a standard faceplate, there will be two screws near the vertical edges of the plate. These screws may be behind small covers, in which case you’ll need a small screwdriver to pike them out.
There should be enough excess wire behind the faceplate to pull it far enough away from the wall to work around. Disconnecting the faceplate from the wiring should be avoided if at all possible. That is unless you have electrical expertise, in which case, have at it. If you don’t have any expertise—and there is not enough excess wire to pull the faceplate far enough away from the wall—call someone. The truth is, as long as you’ve cut the power, you shouldn’t be able to do any damage. The worst-case scenario should be your breaker immediately tripping when you turn the power back on. But finding the cause of an electrical problem that you created—when you don’t know how you created it—is challenging.
Measuring Up
Once your faceplate is off, you’re ready to mark your tiles for cutting. Obviously, we’re assuming you’ve already done your homework about where to start when tiling, so you should know where your tiles will sit in relation to the faceplate.
The critical thing to remember here is that you are not tiling up to the faceplate, you are tiling behind it. When you refasten your faceplate back to the wall, it will be sandwiching the tiles against the wall. This way, you don’t have to worry about cutting perfectly straight, smooth edges around the faceplate. The edges will be hidden by the plate itself.
You want to have around 2mm of tile behind the faceplate, being sure your tiles won’t obstruct the mounting screws when you come to put everything back together. The easiest way to mark your tile is to hold it in the correct vertical position, make a mark, and then do the same for the horizontal position. Then, using a square, connect those two marks to create the corner square that you need to cut off.
Anyone who has worked in a trade that involves cutting lengths of things (wood, metal, etc.) will have heard the age-old adage, “measure twice, cut once.” It is better to spend extra time re-checking your measurements to make absolutely sure they are correct than to rush to the cutting and get it wrong. Once you’ve cut your tile, it can’t be glued back together.
Well, it can, but it will look terrible.
Get Cutting
If you are cutting one whole edge of a tile, then the process is straightforward. For wall sockets and light switches, it is far more likely that you will end up cutting corner pieces out.
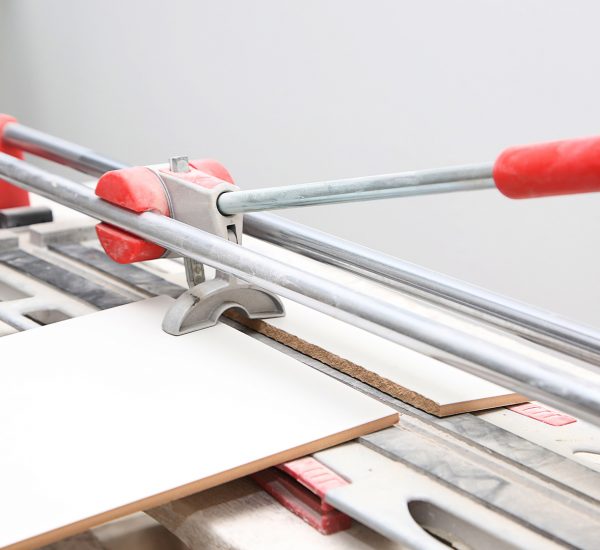
Assuming you are using an electric cutter, observe all safety precautions. Electric tile cutters are very dangerous if misused. If you’re not sure how to use it, don’t use it! It is also possible to use an angle grinder to cut your tiles. However, you will need to be careful when securing the tile so that you don’t crack it with the force of whatever you are clamping it with. If you are using something like a bench vice, for example, try putting a soft cloth between the tile and vice so that you don’t damage the finish.
Whichever method you use, never rush the cutting process. Being too aggressive can result in chipping along the edges of the finish, which might not be a problem if the faceplate covers that edge, but chips in tile finish can be quite significant if you’re not careful.
Get Those Tiles On
With all that done, you’re ready to fix your tile in place. Follow the same steps you used for the other tiles you’ve put up by this stage. Be sure to wipe away any excess adhesive that intrudes into the wall casing, or you might have to chisel it out later if it’s in the way of anything.
And that’s all! Once your tiles have set, you can re-attach your faceplate, being careful not to screw it too tight and crack the plate. Depending on how well the wall casing was installed, you may need longer screws than the original ones. After all, your socket or lightswitch will now be around 6-10mm further away from its original position.
Some people prefer to grout around the socket even when it is installed over the tiles. If you feel the edges need cleaning up, you might also consider a silicone sealant or caulk. If it is colour matched to your grout, it would have the same effect, but it will be much easier to remove the faceplate in future, should you ever need to.


