If you’ve been looking at some example tiling projects, you’ve probably noticed that every tile seems to have been positioned perfectly. How do they do it? Is this the result of years and years of experience? Well, experience never hurts. However, even a beginner can get a professional finish. What’s the secret?
It’s tile spacers.
What Are Tile Spacers?
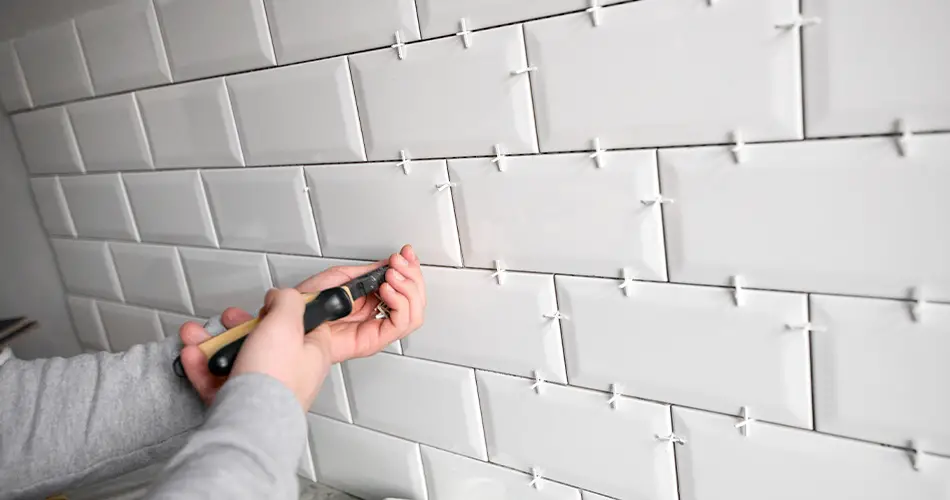
Tile spacers are tiny pieces of plastic that usually come in either a cross shape or a T-shape. They’re every tiler’s secret weapon. And they can help you carry out your project with ease in four ways:
- Tile spacers act as a simple, handy positioning guide as you’re laying your tiles, either on the wall or floor. They help to ensure that you’re leaving the same sized gap between each individual tile.
- Tile spacers prevent newly laid tiles from shifting while the adhesive is still wet. They help to keep everything in place while you’re working so that every tile stays exactly where it should be.
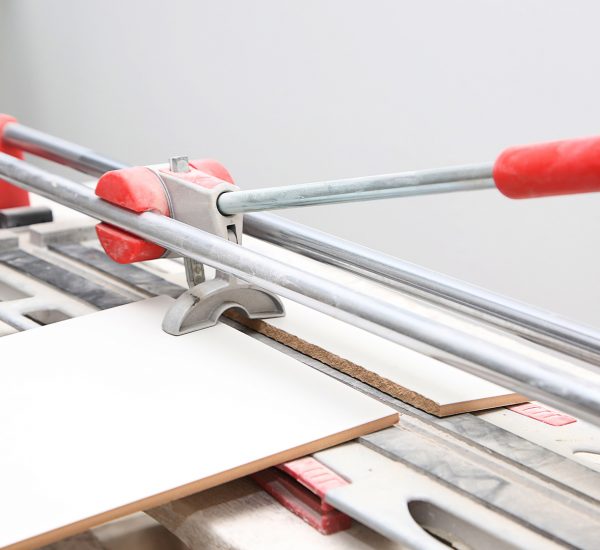
- Tile spacers allow you to carry out an accurate ‘dry run’ so that you can better plan your project. They make it easier to see which tiles will need cutting, and where, to boost speed and reduce waste.
- Tile spacers make it easier for you to accurately calculate the amount of grout you’ll need to buy. They do this by helping you determine the best width for the gap you’re leaving between the tiles.
The overall idea is that, when the time comes to grout, you’re grouting into gaps that are exactly the same size. This can help your grout to appear even and consistent, and improve the end result.
And the good news is that tile spacers can be used with practically any type of tile. They can be used to space wall tiles and floor tiles, as well as tiles made from a wide range of different materials.
Are Tile Spacers Necessary?
The tile police won’t come after you if you choose not to use spacers. They’re not a mandatory part of the tiling process, and some people choose not to use them. However, creating a consistent look and uniform finish is very, very difficult without them. Not using spacers can also massively increase how long it will take to complete your project, as you’ll need to spend more time manually measuring. You’ll also need to pay very careful attention to your positioning of each tile. Therefore, if you’ve got a deadline you’re working to, or you’re not 100% confident in your ability, use spacers.
Even if you choose not to purchase dedicated tile spacers, be sure to use something else that does the same job. Some people have reported success using squares of cardboard or even pennies.
The only scenario in which it makes sense not to use tile spacers is if you’re laying lugged tiles. These aren’t particularly commonplace in the UK. Lugged tiles are ‘self spacing’ tiles. They contain little lumps on the sides which act as built-in spacers, keeping the tiles separated and creating a grout line.
What Size Of Tile Spacers Do I Need To Choose?
The size of the tile spacers you use should depend on how close together you want your tiles to be. This mostly comes down to personal preference. However, it’s important to remember that pretty much all types of tile will expand to some degree due to changes in temperature and moisture. Therefore, it’s always worth having a gap to prevent tiles from cracking if they expand and butt up against each other. There may be a minimum gap recommended by the grout or tile manufacturer.
A good rule of thumb is to leave a 2-3mm gap between wall tiles, and a slightly larger 3-5mm gap between floor tiles. However, there are elements that can affect this. For example, if a tile has rounded edges, there will already be a natural gap when the tiles are placed up against each other. This means that the gap will appear larger than the spacer size, so this is something to consider.
Tile spacers are available in many different sizes, with ‘standard’ sizes being considered to be 2mm – 6mm. These are very easy to find in most DIY stores. The bigger the space, the bigger the gap that’s created between the tiles. And, ultimately, the more grout you’ll need to fill the space.
How Many Spacers Do I Need?
Along with size, you’ll also need to consider quantity. As spacers are placed in the gap next to each corner of a tile, you’ll need four spaces per tile. So to calculate the number of spacers you’ll need in total, simply multiply the number of tiles you’re planning to use by four. Always allow for overage.
Overage is important for three potential reasons:
- You end up using more tiles than you expected
- You lose some spacers (which, let’s face it, is easily done!)
- You find that some spacers are broken (this is common, as they’re made from a lightweight plastic)
Fortunately, tile spacers are very affordable. And, as they’re only small and come in decent-sized bags, you’ll usually find that you have more than enough to see you through your tiling project.
What Do You Do With Tile Spacers?
Using tile spacers is very simple. Apply your tile adhesive as normal, and place a tile into position. Next, place a spacer directly into the adhesive next to each corner, so that the plastic is right up against the edge of the tile. It’s OK to push the spacer into the adhesive to ensure it stays in place.
Use the spacer as a guide for placing the next tile, pushing that tile right up as far as it will go against the spacer. Keep repeating the process, adding new spacers to the corners of every new tile you lay.
Removing Tile Spacers
Tile spacers aren’t designed to stay in the adhesive forever. In fact, it’s important to remove them at just the right time. If you remove a spacer while the adhesive is still wet, you run the risk of the tile slipping out of place. Similarly, if you try and remove a spacer once the adhesive is fully dry, you might find it difficult to get it out. Timing is everything when it comes to removing a tile spacer.
Be sure to check the manufacturer’s instructions on the adhesive, as this will inform you of how long that particular adhesive takes to dry. Every adhesive is slightly different. However, a good rule of thumb is to remove tile spacers after 20-30 minutes. You should be able to simply pull them out. If they’re not playing nicely, try using a chisel to gently loosen the spacer and knock it out of place.
If you really can’t remove a spacer, don’t worry. If it’s not protruding out above the top of the tile, it is possible to grout over it if you have no other alternative. However, this should only be done as a last resort. Keeping a spacer in can create a void in the grout that affects the integrity. In addition, as the grout begins to wear away over time, you may notice that the shape of the spacer becomes visible.
Once your spacers are all out, that’s it – job done! Some may break as you remove them, but those that are in good condition can be washed, dried, and used again next time.


