Tiles are a popular choice for their durability and aesthetic appeal, but encountering uneven tiles can be frustrating. Uneven tiles not only compromise the visual appeal of a surface but can also affect its functionality and durability. In this blog post, we’ll explore the causes of uneven tiles, effective solutions to address the issue, and provide step-by-step instructions to achieve a smooth and flawless tile surface.
Causes of Uneven Tiles
Before delving into the solutions, it’s important to understand the potential causes of uneven tiles. Here are some common reasons for tile unevenness:
- Subfloor Issues: A poorly prepared or uneven subfloor can result in uneven tiles. Unevenness can be caused by variations in the substrate’s level or irregularities in the surface.
- Improper Tile Installation: Inadequate adhesive application or incorrect trowel techniques during the installation process can lead to uneven tiles. Insufficient mortar coverage can cause tiles to sit unevenly.
- Tile Warpage: Tiles can sometimes be manufactured with slight warping or irregularities, which can contribute to an uneven tile surface.
Solutions for Uneven Tiles
Fortunately, there are effective solutions to address uneven tiles. Follow these steps to achieve a smooth and level tile surface:
Step 1: Assess the Severity: Evaluate the extent of the tile unevenness. Determine whether the entire surface or specific areas require attention.
Step 2: Remove Existing Tiles (if necessary): If the tile unevenness is widespread or severe, it may be necessary to remove the existing tiles and start afresh. This ensures a solid foundation for a level tile installation.
Step 3: Level the Subfloor: If the unevenness is due to subfloor issues, address them by leveling the subfloor. Use a self-leveling compound or patching material to even out the surface. Follow the manufacturer’s instructions for proper application and drying time.
Step 4: Adjust Tile Adhesive: For localized tile unevenness, adjust the adhesive application. Use a notched trowel to create consistent ridges of adhesive on the subfloor. The size of the notches should match the tile size and thickness.
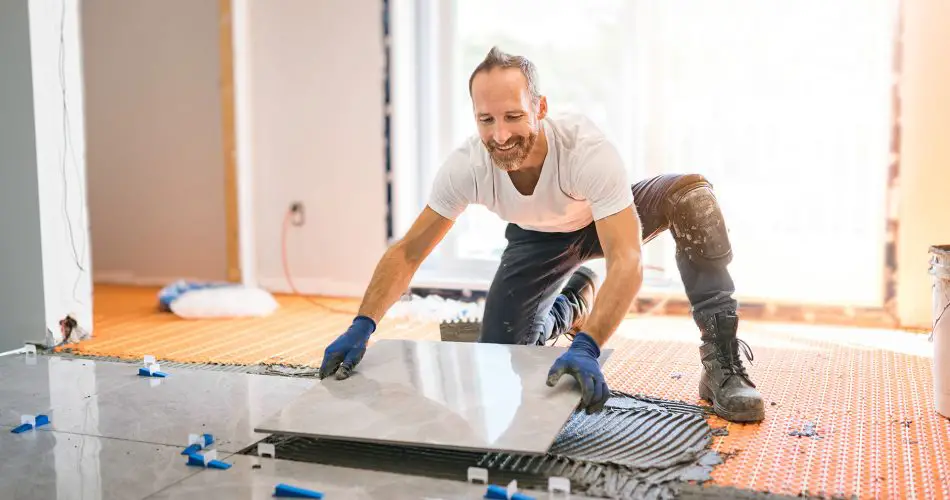
Step 5: Install Tiles Carefully: Place the tiles onto the adhesive, pressing them firmly into place. Use a tile leveling system or spacers to ensure even spacing between tiles and to prevent any lippage.
Step 6: Check for Levelness: Use a level or straight edge to check the surface for levelness as you progress. Make necessary adjustments by adjusting the adhesive or adding/removing mortar as needed.
Step 7: Grouting and Finishing: Once the tiles are in place and the adhesive has dried, apply grout to fill the gaps between tiles. Clean off any excess grout and finish the surface according to your desired style.
Expert Tips for Achieving a Smooth Tile Surface
- Proper Preparation: Ensure the subfloor is properly prepared, level, and free of debris before installing tiles. This provides a solid foundation for a level tile installation.
- Quality Adhesive: Use high-quality tile adhesive recommended for your specific tile type and surface. This ensures better bonding and reduces the likelihood of tile movement or unevenness.
- Attention to Detail: Pay attention to the tile installation process, ensuring consistent adhesive application and proper alignment. Take the time to make adjustments as needed to achieve a level surface.
- Tile Levelling Systems: Consider using tile levelling systems, such as leveling clips or wedges, to achieve an even tile surface. These systems help ensure uniform spacing and prevent tile lippage, resulting in a smoother and more professional-looking installation.
- Seek Professional Help: If you’re unsure about addressing uneven tiles or if the problem persists despite your efforts, it may be best to consult a professional tile installer or contractor. They have the expertise and tools to assess the situation accurately and provide appropriate solutions.
Remember, addressing uneven tiles requires careful planning, attention to detail, and proper execution. Taking the necessary steps to achieve a level surface will not only enhance the aesthetics of your tiled area but also contribute to its durability and longevity.
In conclusion, uneven tiles can be a frustrating issue, but with the right approach, it can be resolved effectively. By identifying the causes, implementing the appropriate solutions, and following expert tips, you can achieve a smooth and flawless tile surface. Whether it involves leveling the subfloor, adjusting adhesive application, or using tile leveling systems, the goal is to create a visually pleasing and structurally sound tile installation. With patience and precision, you can transform uneven tiles into a beautifully even surface that enhances the overall appeal of your space.


