
Underfloor heating and tiles are a match made in home improvement heaven. Tiles conduct and radiate heat better than almost any other floor covering, making them the go-to choice for homeowners who want a warm, comfortable floor that also looks stunning. But getting the installation right matters enormously. Rush the process, skip the right adhesive, or ignore expansion joints, and you could end up with cracked tiles, cold spots, or a floor that needs lifting entirely.
This guide covers everything needed to install tiles over underfloor heating correctly, from choosing the right tile type to following the correct warm-up schedule once the job is done.
Why Tiles Are the Best Floor Covering for Underfloor Heating
Tiles have a naturally low thermal resistance, which means heat passes through them quickly and efficiently. Porcelain, ceramic, and natural stone all conduct heat well, warming up faster than timber or carpet and holding that warmth for longer once the system switches off.
In comparison, carpet has a high TOG rating (often above 1.5 TOG), which acts as an insulating barrier that blocks heat from reaching the room. Engineered wood can work with UFH but requires careful moisture control. Vinyl and LVT have temperature limits that restrict how warm the floor can get. Tiles, by contrast, have no such restrictions and pair perfectly with both electric and wet underfloor heating systems.
Electric vs Wet (Hydronic) Underfloor Heating Under Tiles
There are two main types of underfloor heating: electric (sometimes called dry systems) and wet (hydronic) systems. Both work well under tiles, but they suit different situations.
Electric UFH uses heating cables or pre-spaced mats laid directly beneath the tile adhesive bed. These systems are easier to install, particularly in smaller rooms like bathrooms or kitchens, and are popular with DIYers. They typically output between 100W and 200W per square metre. Running costs are higher than wet systems over time, but installation costs are significantly lower.
Wet (hydronic) UFH pumps warm water through a network of pipes embedded in a screed or specialist board. These systems are more efficient to run, particularly when paired with a heat pump, but they require more complex installation and are usually fitted by a qualified plumber or heating engineer. They are more common in new builds or full renovation projects.
For tiled floors, both systems are suitable. Electric mats are thinner and easier to work around during tile layout planning. Wet systems embedded in screed provide an extremely stable, flat surface for tiling once the screed has cured fully.
Tile Type Comparison: Which Conducts Heat Best for Underfloor Heating?
Not all tiles perform equally over UFH. Here is a practical comparison of the most common tile types by thermal performance:
| Tile Type | Thermal Conductivity | Approximate TOG Rating | UFH Suitability |
|---|---|---|---|
| Porcelain | High | 0.01 per mm thickness | Excellent |
| Ceramic | High | 0.01 per mm thickness | Excellent |
| Natural Stone (Slate, Limestone, Marble) | Very High | Under 0.01 per mm | Outstanding |
| Quarry Tiles | Moderate to High | 0.01-0.015 per mm | Good |
| Encaustic/Cement Tiles | Moderate | 0.015 per mm | Acceptable |
| Luxury Vinyl Tile (LVT) | Low | 0.025+ per mm | Limited (max 27°C floor temp) |
The total TOG value of a floor build-up (tile plus adhesive) should ideally stay below 0.15 TOG for efficient heat transfer. Porcelain and natural stone are the top performers. Tiles thicker than 20mm will reduce efficiency noticeably, so where possible, opt for tiles in the 8mm to 15mm range.
Choosing the Right Tiles for Underfloor Heating
Porcelain is arguably the best all-round tile for UFH use. It is dense, dimensionally stable, and available in a huge range of sizes and finishes. Ceramic tiles are a cost-effective alternative with similar thermal properties. Natural stone, particularly slate, limestone, and marble, conducts heat exceptionally well and feels luxurious underfoot, though it requires sealing and slightly more maintenance.
Tile thickness matters for heat transfer efficiency. Tiles up to around 15mm thick perform well. Beyond 20mm, the thermal resistance begins to reduce system efficiency noticeably. Always check the tile manufacturer’s guidance for UFH compatibility, particularly with thicker natural stone.
Avoid glazed tiles with very thick decorative layers, as these can act as partial insulators. Also avoid tiles with a TOG rating that would push the total floor build-up above 0.15 TOG.
Planning Your Tile Layout Around Underfloor Heating Cables and Mats
This is a step that many DIYers overlook, and it can cause serious problems. Before laying a single tile, the position of every heating cable or mat needs to be mapped out carefully.
Here is how to approach tile layout planning for UFH:
- Photograph and sketch the cable or mat layout before covering it with adhesive. Mark the positions on the wall for reference.
- Plan tile cuts so that no cuts fall directly over a heating cable. Cutting through a cable with an angle grinder or tile saw will damage the element and could create a fault in the system.
- Use a tile spacer or batten to mark out your tile grid before mixing any adhesive, ensuring cuts are positioned in low-risk areas such as perimeter edges rather than over cable runs.
- For electric mats, the mat itself provides a fixed cable spacing. Plan your tile layout to start from the centre of the room and work outward, keeping cuts to the edges.
- For wet systems in screed, the pipe positions are less of a concern during tiling, as the screed fully encases the pipes. Focus instead on ensuring the screed surface is flat and fully cured.
- If using large-format tiles (600mm x 600mm or larger), plan grout joints carefully to align with movement joint positions, particularly at doorways and room perimeters.
How to Prepare Your Floor Before Tiling Over Underfloor Heating
Preparation is everything. Before tiling begins, the UFH system must be commissioned and pressure tested (for wet systems) or switched on and tested (for electric systems). Never tile over a system that has not been tested, as discovering a fault after tiling means lifting the entire floor.
Concrete screed subfloors: The screed must be fully cured and dry before tiling. New sand and cement screeds typically need at least 28 days to cure, and the moisture content should be below 75% relative humidity (or 0.5% by weight for calcium sulphate screeds) before tiling begins. Prime the screed with an appropriate primer to improve adhesive bond strength.
Timber subfloors: Timber is more problematic for UFH because it moves with changes in temperature and humidity. If tiling over a timber subfloor with electric UFH, a decoupling membrane or a layer of tile backer board is strongly recommended to reduce the risk of cracking. Wet UFH systems are generally not recommended directly on timber floors without specialist engineering advice.
Insulation boards beneath the UFH system are also important. Placing insulation below the heating elements directs heat upward into the room rather than downward into the subfloor, improving efficiency and reducing heat-up times significantly.
Step-by-Step: Installing Tiles Over Underfloor Heating
Adhesive Selection
Standard tile adhesive is not suitable for UFH installations. A flexible, polymer-modified adhesive rated for use with underfloor heating is essential. Look for adhesives classified as S1 (flexible) or S2 (highly flexible) under EN 12002. These adhesives accommodate the thermal movement that occurs as the floor heats up and cools down repeatedly.
Apply adhesive using the full-bed or solid-bed method, ensuring there are no voids beneath the tile. Air pockets beneath tiles over UFH can cause hot spots, which stress the tile and adhesive, eventually leading to debonding or cracking.
Grouting
Use a flexible, polymer-modified grout. Grout joints should be a minimum of 3mm wide for tiles up to 600mm, and at least 5mm for large-format tiles. Wider grout joints accommodate thermal expansion and reduce stress on tile edges. Do not use rigid, cementitious-only grouts on UFH floors.
Expansion Joints
Movement joints are not optional on UFH floors. In line with BS 5385, movement joints should be placed at all perimeter edges (between the tiled floor and walls, skirting boards, and fixed objects), at doorways, and internally at intervals no greater than 4.5 metres in each direction. These joints should be filled with a flexible sealant rather than grout, allowing the floor to expand and contract freely.
The Correct Warm-Up Schedule After Tiling Over Underfloor Heating
This is one of the most important, and most frequently mishandled, stages of any UFH tiling project. Switching the heating on too soon or ramping the temperature up too quickly will cause adhesive failure and tile cracking.
Follow this gradual commissioning schedule:
- Days 1-7 after tiling: Leave the system completely off. Allow adhesive and grout to cure at ambient temperature (ideally above 10°C).
- Day 8 (if using flexible S1/S2 adhesive with standard curing time): Switch the system on at its lowest setting, targeting a floor surface temperature of no more than 18-20°C. Hold at this temperature for 24 hours.
- Day 9: Increase the floor temperature by 5°C. Hold for 24 hours.
- Day 10: Increase by a further 5°C. Hold for 24 hours.
- Day 11 onwards: Continue increasing in 5°C increments daily until the desired operating temperature is reached (typically 27-29°C for tiled floors).
Always check the adhesive manufacturer’s specific guidance, as some products require longer curing periods before the system is switched on. In cooler conditions or thicker adhesive beds, extend the initial off period to 10-14 days.
Underfloor Heating Tiling Checklist: Before, During, and After Installation
Before Installation
- UFH system tested and commissioned (pressure test for wet systems, electrical test for electric systems)
- Subfloor fully cured, dry, and within acceptable moisture limits
- Subfloor primed with appropriate primer
- Insulation boards installed beneath UFH system
- Tile layout planned and marked out, avoiding cuts over cable runs
- S1 or S2 flexible adhesive sourced and rated for UFH use
- Flexible grout and movement joint sealant sourced
- UFH system switched off before tiling begins
During Installation
- Full-bed adhesive application with no voids beneath tiles
- Cables and mats not damaged during tiling (check with a cable fault detector if available)
- Grout joints minimum 3mm (5mm for large-format tiles)
- Perimeter movement joints left clear of grout
- Internal movement joints placed at maximum 4.5m intervals
- Tiles checked for level and consistent bed depth
After Installation
- Adhesive and grout allowed to cure for minimum 7 days before heating is switched on
- Gradual warm-up schedule followed (5°C increments per day)
- Movement joints filled with flexible sealant once floor is at operating temperature
- Floor inspected for hollow spots by tapping tiles gently after first full heat cycle
- Thermostat floor sensor positioned correctly and tested
Thermostat and Controls: Getting the Most from Your Tiled UFH System
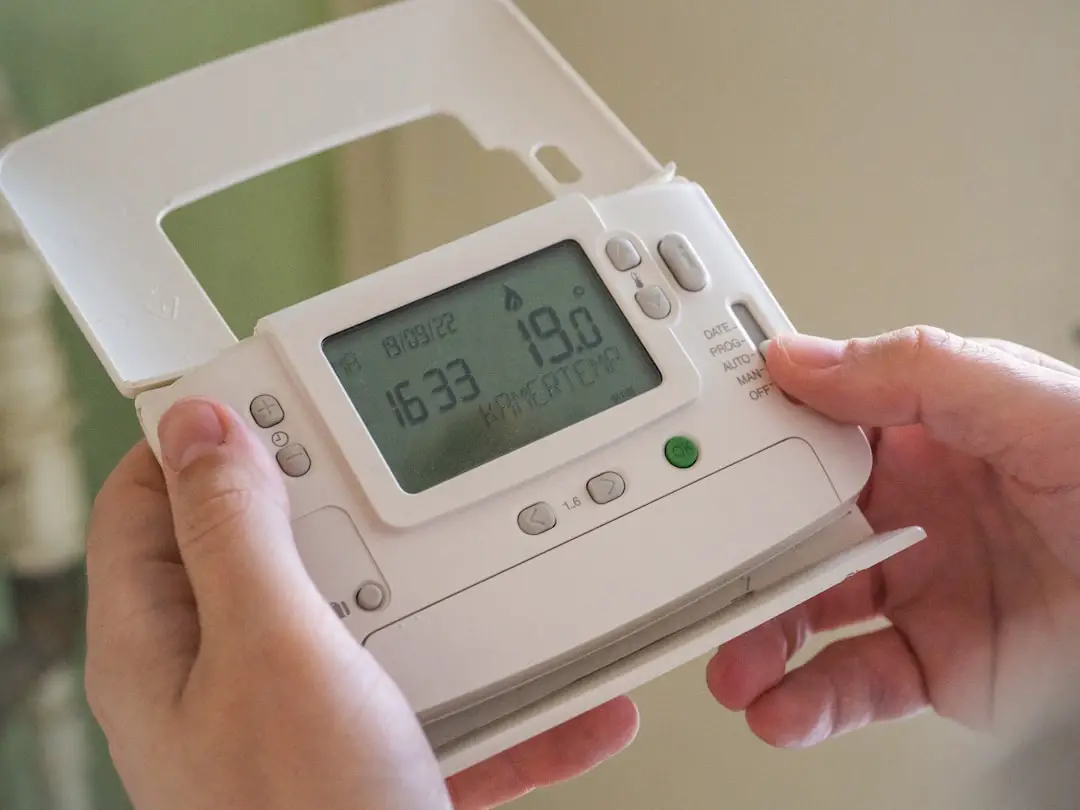
A floor sensor thermostat is strongly recommended for tiled UFH floors. Unlike air sensors, which measure room air temperature, floor sensors measure the actual temperature of the tile surface, preventing the floor from exceeding safe limits and protecting both the tiles and the heating element.
The maximum recommended floor surface temperature for tiled floors is typically 27-29°C. Exceeding this regularly can stress the adhesive and grout over time. Set the thermostat’s floor temperature limit accordingly.
For running cost efficiency, programme the system to run during off-peak electricity tariff periods (for electric systems) and use scheduling to pre-heat the floor before it is needed, rather than running it continuously. Because tiles retain heat well, the system does not need to run 24 hours a day in most homes. A well-insulated room with a tiled UFH floor can maintain comfortable temperatures with 8-12 hours of heating per day in typical UK winter conditions.
Troubleshooting Tiled Underfloor Heating: Fixing Cold Spots, Cracks, and Loose Tiles
Cold spots: If certain areas of the floor feel noticeably cooler than others, the cause is usually air voids beneath tiles (where adhesive coverage was incomplete), a damaged or faulty cable section, or an area where the cable spacing was uneven. Use a thermal imaging camera or a temperature probe to map the floor surface and identify the cold zone. If the issue is adhesive voids, the affected tiles will need to be lifted and re-laid.
Cracked tiles: Cracks in tiles over UFH are almost always caused by one of three things: the system was switched on too quickly after installation, the adhesive used was not flexible enough, or movement joints were omitted. If the damage is localised, individual tiles can sometimes be replaced. If cracking is widespread, the floor may need to be fully lifted and re-laid with the correct materials and commissioning process.
Loose or hollow-sounding tiles: Tap across the floor surface with a rubber mallet or coin. A hollow sound indicates debonding, where the tile has separated from the adhesive bed. This is caused by voids in the adhesive, thermal movement pulling the tile away, or an incompatible adhesive. Loose tiles must be lifted, the old adhesive removed, and the tile re-laid using a full-bed S1 or S2 adhesive.
Grout cracking: Fine cracks in grout lines are common on UFH floors where rigid grout was used or movement joints were not provided. Remove cracked grout with a grout rake, replace with flexible polymer-modified grout, and ensure movement joints are in place at perimeters and internal intervals.
Frequently Asked Questions About Underfloor Heating with Tiles
Will tiles crack with underfloor heating?
Tiles will not crack if the installation is done correctly. The key factors are using a flexible, S1-rated adhesive, providing adequate movement joints, and following a gradual warm-up schedule after installation. Tiles crack when rigid adhesive is used, movement joints are omitted, or the heating is switched on before the adhesive has fully cured.
How long after tiling can I turn on underfloor heating?
As a general rule, wait at least 7 days after tiling before switching the system on, then follow a gradual warm-up schedule, increasing the floor temperature by no more than 5°C per day. Always check the adhesive manufacturer’s specific curing time guidelines, as some products require longer.
Can you have underfloor heating with vinyl tiles?
Luxury vinyl tiles (LVT) can be used with UFH, but they have a maximum floor temperature limit of around 27°C and a higher TOG rating than ceramic or porcelain, which reduces heat transfer efficiency. Ceramic and porcelain tiles remain the superior choice for UFH performance. If LVT is preferred for aesthetic reasons, always confirm the product is rated for UFH use and follow the manufacturer’s temperature guidelines strictly.
How thick can tiles be for underfloor heating?
Tiles up to approximately 15mm thick are considered optimal for UFH efficiency. Tiles thicker than 20mm will reduce heat transfer noticeably. The total TOG rating of the tile plus adhesive bed should remain below 0.15 TOG for best performance.
What is the main problem with underfloor heating and tiles?
The most common problems are tile cracking, grout cracking, and tile debonding. These issues are almost always caused by using the wrong adhesive, omitting expansion joints, or turning the heating on too quickly after installation. With the correct materials and installation process, these problems are entirely avoidable.
Should underfloor heating be on 24 hours a day?
Not necessarily. Tiles retain heat well, so a tiled UFH floor does not need to run continuously to maintain a comfortable temperature. Using a programmable or smart thermostat to heat the floor during off-peak hours and pre-heat before peak usage times is a more energy-efficient approach. In a well-insulated home, 8-12 hours of heating per day is typically sufficient during colder months.
Getting underfloor heating with tiles right is one of the most rewarding tiling projects a homeowner or tradesperson can undertake. The combination of excellent heat conductivity, long-term durability, and the sheer comfort of a warm tiled floor makes it well worth the careful preparation and patience required. Follow the steps in this guide, use the right materials, and that first barefoot walk across a warm tiled floor on a winter morning will make every bit of effort worthwhile.
Article written by Casper