The secret to a tidy herringbone tile layout is setting out the pattern before opening the adhesive. Because rectangular tiles meet at right angles and the pattern runs diagonally, small starting errors quickly become obvious across a wall or floor. Dry-laying a few rows and marking dependable centre lines prevents costly recuts.
What is a herringbone tile pattern?
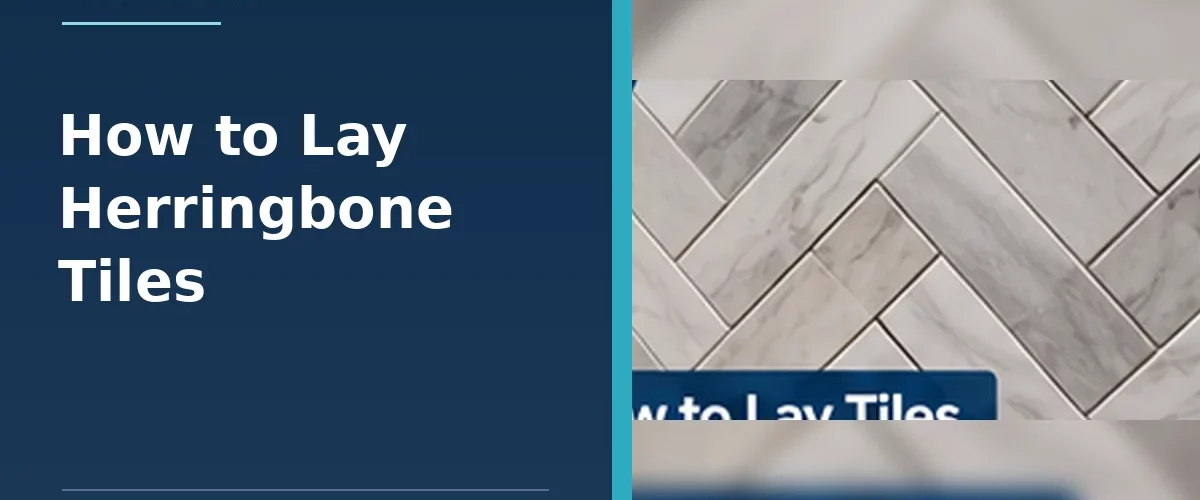
A herringbone pattern uses rectangular tiles arranged so that the short end of one meets the long side of another, forming repeated zigzags. It is different from chevron, where tile ends are cut to create a continuous pointed V.
Which tiles work best?
Rectangular tiles are easiest to arrange in herringbone. Common proportions include 2:1 and elongated brick formats, although the exact ratio changes the look. Check whether the tiles are suitable for walls or floors and whether the edges and manufacturing tolerances allow an even joint. Rectified and non-rectified tiles can require different grout joint widths.
What you’ll need
- Rectangular tiles, including extra for pattern cuts and breakages
- Suitable tile adhesive and correctly sized notched trowel
- Spacers, measuring tape, square and spirit or laser level
- Appropriate tile cutter or wet saw and safety equipment
- Grout, suitable movement-joint materials and finishing trims
How to set out a herringbone pattern
- Measure the area. Note the true dimensions, corners, alcoves, fixtures and the most visible focal point.
- Choose the orientation. Decide whether the zigzag should run vertically or horizontally on a wall, or towards a focal point across a floor.
- Mark a centre line. Use a laser or square rather than assuming walls are perfectly straight.
- Dry-lay at least two complete repeats. Include grout spacers to see the real pattern dimensions.
- Check the edges. Shift the starting point if it produces very narrow cuts at highly visible boundaries.
- Mark a clear reference grid. Retain these lines as the adhesive work progresses so the zigzag doesn’t drift.
How to fix the tiles
- Make sure the substrate is flat, clean, stable and appropriately primed. Herringbone highlights uneven surfaces.
- Apply suitable adhesive to an area small enough to tile within its open time.
- Place the first tiles on the set-out lines, using consistent spacers and checking the 90-degree relationships.
- Work outwards in short sections, repeatedly checking alignment. Do not assume that every tile is exactly identical.
- Dry-fit border pieces, then cut with suitable equipment. Protect edges and allow for required movement joints.
- Clean away adhesive from tile faces and joints before it hardens. Wait the specified time before grouting.
How much extra tile should you allow?
Herringbone usually creates more cuts and offcuts than a simple straight-lay pattern. There is no universal waste percentage: small rooms with many edges or a diagonal layout will use more. Draw the layout and count full and cut pieces, then buy a sensible spare allowance from the same batch.
Common herringbone mistakes
- Starting against a crooked wall without a control line.
- Forgetting grout gaps in the dry layout.
- Using tiles with unexpected size variation without adjusting joint width.
- Failing to check border cuts before fixing the centre.
- Spreading too much adhesive and allowing it to skin over.
Frequently asked questions
Is herringbone harder to tile than straight rows?
Usually, because alignment and cutting are more demanding. A careful dry layout makes the work manageable.
Can I use herringbone tiles on a floor?
Yes, with floor-rated tiles, a stable substrate and adhesive suited to the tile and location.
Can I use ordinary rectangular metro tiles?
Often yes on suitable walls. Check the tiles’ intended application and dimensional consistency. See our metro tiles guide.
Do I start herringbone in the middle?
Often a centre or focal-point line works well, but the best position is the one that balances the most visible cuts after dry-setting the room.
For cutting techniques see How to Cut Tiles Like a Pro.