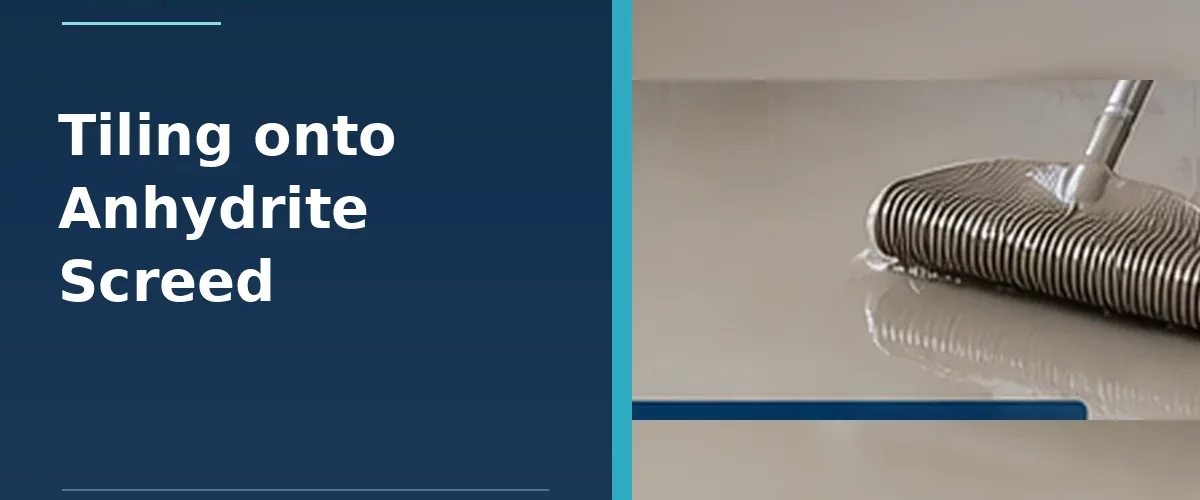
Yes, tiles can be installed onto a suitably cured and prepared anhydrite (calcium sulphate) screed, but it needs a different approach from ordinary cement-and-sand screed. Residual moisture, weak surface laitance and interactions between gypsum and cement-based adhesive can cause failures when preparation is rushed.
What is anhydrite screed?
Anhydrite is a calcium sulphate-based screed often used as a pumpable, self-smoothing layer. It can look very similar to a cement screed, so confirm the product from the installer or project records instead of guessing by colour. Different screed formulations have different drying and commissioning instructions.
Why does the screed need special preparation?
A calcium sulphate screed can develop a weak surface layer known as laitance. This interferes with tile adhesion and can hinder drying. Also, unsuitable direct contact between gypsum-based screed and certain cement-based materials can contribute to a chemical reaction and loss of adhesion. The specified primer and adhesive system manages this compatibility risk.
How dry must anhydrite screed be?
A frequently stated manufacturer guideline is less than 0.5% residual moisture by mass for many conventional tiling systems, but the permitted value depends on the screed, heating and tile/adhesive build-up. Specialist systems may have different limits. Do not estimate readiness purely from screed age: obtain a suitable moisture test and follow the particular manufacturer’s requirements.
Step by step: preparing anhydrite screed for tiles
- Identify the screed. Obtain product information, installation date and any underfloor heating commissioning record.
- Check surface strength. The material must be sound, stable, flat and free from cracks that require repair.
- Remove laitance. Mechanically abrade or sand the surface in accordance with the screed manufacturer’s safe method and timescale; extract dust effectively.
- Measure residual moisture. Confirm it meets the installation specification. Damp proof membranes or fast-track products are not interchangeable: use only an approved system.
- Prime as specified. Apply the compatible primer in the required number of coats to isolate and prepare the calcium sulphate background.
- Choose adhesive and grout. Check that the products are explicitly approved for anhydrite and the tile type and size.
- Provide movement joints. Respect perimeter joints, heating-zone boundaries and all system-specified joints.
- Observe curing times. Protect the new floor from loads and heating changes until permitted by the manufacturers.
Anhydrite screed and underfloor heating
Underfloor heating should be commissioned and cycled according to the screed and heating system requirements before tiling. The heating should then be managed during fixing and carefully recommissioned after the tile adhesive and grout have cured. Sudden temperature changes can create avoidable stress.
Common mistakes
- Tiling before moisture testing.
- Leaving laitance on the surface.
- Using a generic primer without checking compatibility.
- Applying cement adhesive directly where isolation is required.
- Forgetting the effect of heating zones and movement joints.
Frequently asked questions
Can you tile directly onto anhydrite?
Not without the preparation and primers or specialist products required by the approved installation system.
How long does anhydrite screed take to dry?
It varies widely with thickness, product, ventilation and heating. Test actual residual moisture rather than using a fixed number of days.
Does anhydrite need sanding?
Many traditional calcium sulphate screeds require laitance removal, but specific products may differ. Follow the screed supplier’s instructions.
Can you use a decoupling membrane?
Some approved systems incorporate one, but a membrane does not waive moisture or surface preparation requirements.
Technical guidance: BAL Adhesives: Tiling onto calcium sulphate screeds; Weber UK: Tiling onto anhydrite screeds.