To tank a shower before tiling, install a compatible waterproofing system over a suitable, stable background, paying particular attention to corners, board joints, pipe penetrations, niches and the connection to the shower tray or drain. Tile and grout are not a substitute for the waterproof layer beneath them.
Shower tanking is not simply a coat of paint. Liquid-applied membranes, sheet membranes and waterproof board systems each have their own adhesives, tapes, collars and curing requirements. This guide explains the process and the points most likely to cause leaks, but the chosen manufacturer’s installation instructions must control the job.
Do you really need to waterproof behind shower tiles?
Yes, a suitable waterproofing strategy is essential for regularly wetted areas. Water can pass through joints, cracks and penetrations even when tiles look sound. Without appropriate protection it can damage plasterboard, timber and other moisture-sensitive materials. A tiled shower needs a complete assembly, not just waterproof grout or sealant on the surface.
What are the main shower tanking options?
Liquid-applied tanking membrane
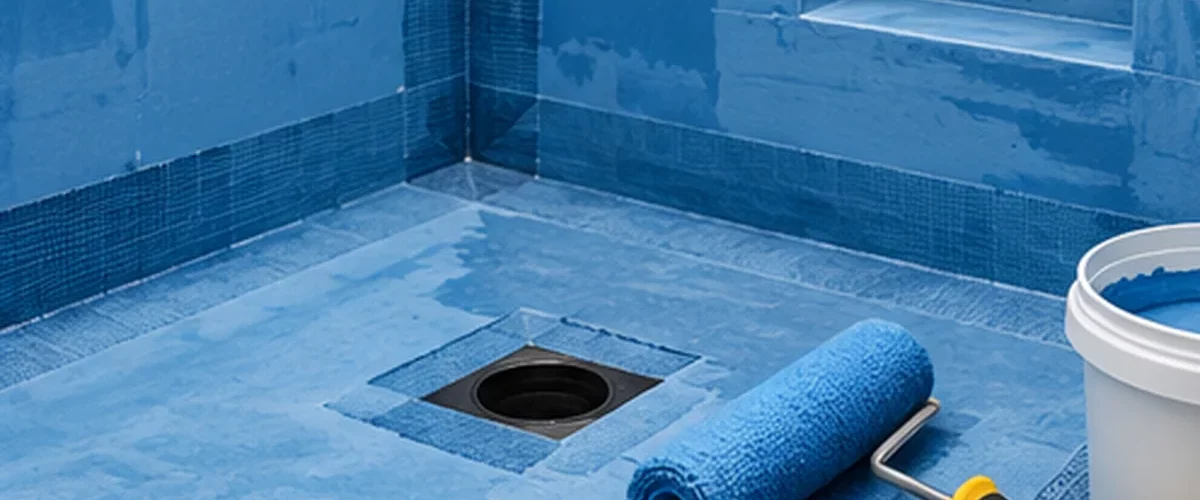
A purpose-made liquid waterproofing coating is rolled or brushed over a prepared background, usually with system-specific reinforcement tape and collars. Many systems require more than one coat and a specified final dry-film thickness. Coverage, curing and recoat times vary.
Sheet waterproofing membrane
These waterproof sheets are bonded to the wall or floor with the prescribed adhesive. Sheets need correctly lapped or taped seams and approved connections at corners, drains and fittings. The manufacturer’s instructions govern overlaps and sealing.
Waterproof tile backer board systems
Some boards are themselves water-resistant or waterproof, but the board joints, screw penetrations, corners and edges must still be treated exactly as the system requires. A waterproof board with unsealed joints is not a complete watertight shower enclosure.
Before you start: check the background
The wall or floor must be sound, correctly supported, stable, appropriately flat and compatible with the selected membrane. Replace moisture-damaged plasterboard or timber and resolve leaks before sealing anything in. Wet rooms and level-access shower floors require careful design of falls, drains and waterproof transitions; consider an experienced installer for these details.
If using a shower tray, verify how its upstand and wall waterproofing are intended to meet. Products sold as ‘tanking kits’ vary significantly, so check whether the kit is suitable for your actual tray, wall background, shower type and installation geometry.
How to tank a shower step by step
- Choose one approved waterproofing system. Use components tested or specified to work together; avoid mixing tapes, membranes and sealants from unrelated systems without manufacturer confirmation.
- Prepare the substrate. Remove loose material, clean dust, check flatness and allow any required substrate drying. Prime only where and how the tanking manufacturer specifies.
- Seal junctions and penetrations. Fit compatible tape, corners and pipe collars at changes of plane and around penetrations. Treat fixings and board joints as required. These are frequent weak points.
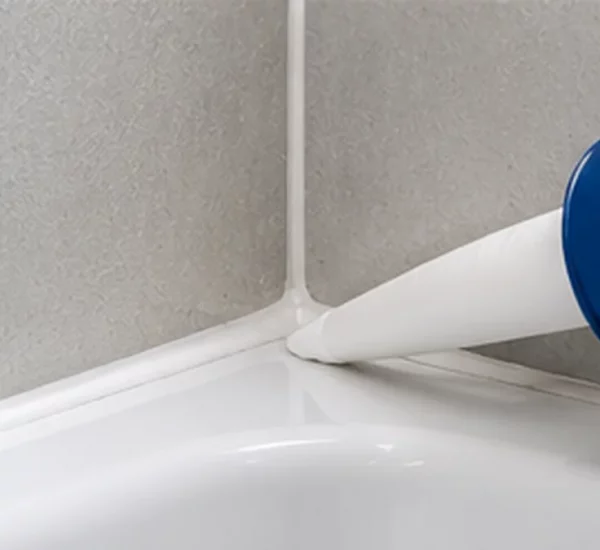
- Make a continuous connection to the tray or drain. Use the prescribed sealing detail, flange, bonding seal or collar. A bead of ordinary bathroom silicone alone is not a replacement for the designed waterproof transition.
- Apply the membrane. For a liquid system, follow the specified coats, direction, consumption and drying intervals. For a sheet system, use approved adhesive and protect against wrinkles, voids and incomplete seam bonds.
- Inspect the entire waterproof layer. Look for pinholes, missed areas, torn tape, unsealed corners and penetrations. Repair them using the chosen system before tiling.
- Allow the required cure. Do not tile over a membrane before the manufacturer’s permitted time. Where required by the design and system, carry out the specified water or flood test before covering the work.
- Tile using compatible products. Select adhesive and grout approved for the membrane, tile type and exposure, and preserve movement joints.
Where waterproofing failures commonly happen
| Area | Why it matters |
|---|---|
| Wall-to-floor corners | Movement and intersecting planes need a flexible, continuous waterproof detail. |
| Shower tray perimeter | A poorly sealed connection allows water to track behind the tray. |
| Pipe and mixer penetrations | Openings interrupt membranes and need compatible seals. |
| Shower niches and ledges | Several corners and horizontal surfaces increase the risk of trapped water; ledges need suitable falls. |
| Wet-room drain | The drain-to-membrane connection and floor falls must be designed as one system. |
Can you tile straight onto tanking?
Often yes, once the approved system has cured and provided the tile adhesive is compatible. Some coatings require specific adhesives, thickness limits or primers. Do not assume every standard ready-mixed adhesive is suitable for large porcelain tiles over a low-porosity membrane.
Does waterproof grout mean tanking isn’t necessary?
No. Even low-absorption grout does not replace a correctly installed shower waterproofing layer. Tiles, grout, silicone joints and the tanking beneath all perform different jobs.
When to use a professional
Use a specialist where a shower has already leaked, where the background is structurally unsound, where a wet-room floor or linear drain is being installed, or where you cannot verify the waterproof connection to trays, wastes or penetrations. Hidden leaks can cause extensive damage; getting the detail right before tiling is far easier than repairing a failure later.
Frequently asked questions
Can you tank a shower with standard PVA?
No. PVA is not a substitute for a purpose-designed shower waterproofing membrane.
Is moisture-resistant plasterboard waterproof?
No. Moisture resistance is not the same as a continuous waterproof layer. Follow the board and waterproofing manufacturers’ compatibility requirements.
How long does shower tanking take to dry?
There is no universal drying time. It depends on the membrane, film thickness, temperature, humidity and number of coats. Follow the data sheet before tiling or water testing.
Can you tank over existing tiles?
Some specialist systems may allow it after stringent preparation, but do not assume an existing tiled wall is sound or correctly waterproofed. Assess the background and use a specifically approved system.
Read our surface preparation guide and how to tile a wall guide for related installation advice.
Industry reference: The Tile Association. Always obtain the current installation manual for the waterproofing system you select.