Cracked tile grout usually points to movement, a problem with the surface beneath the tiles, or an issue with the way the grout was mixed or applied. A hairline crack in one grout joint may be a straightforward repair. Cracks that keep coming back, especially alongside loose tiles or damp patches, deserve a closer look before you regrout.
Here’s how to recognise seven common causes, work out whether a DIY repair is sensible, and prevent the same problem returning.
Is cracked grout a serious problem?
Not always. A single small crack in a dry kitchen splashback is different from cracked grout running across a bathroom floor or a shower wall. Grout is not the main waterproofing layer in a shower, so damaged grout should never be treated as the only possible cause of a leak. If water is escaping, stop using the shower until the waterproofing and joints are checked.
7 reasons tile grout cracks
1. The floor or wall is moving
Flexible timber floors, inadequately supported boards and settling backgrounds can move under a rigid tiled finish. Grout often cracks along tile edges when the structure beneath the tiles flexes. Stand beside, rather than on, a suspicious floor tile and check whether nearby grout moves when someone walks across the area. If it does, replacing grout alone is unlikely to solve the problem.
2. Movement joints are missing or have been grouted over
Tiles expand and contract with temperature and moisture changes. Properly designed movement joints accommodate that movement. Corners, perimeters and changes between substrates need particular attention. They should not simply be packed with hard grout where a specified flexible joint is required. The Tile Association’s movement-joint guidance explains why these joints matter.
3. The tiles aren’t securely bonded
A tile that rocks or has lost adhesion can put repeated stress on neighbouring grout lines. Tap gently and listen for changes in sound, but remember that a hollow sound alone does not prove a tile has failed. If a tile actually moves, repair its bedding and underlying cause before tackling the grout. Our guide to fixing loose tiles covers the next steps.
4. Too much water was added to the grout
Mixing cement-based grout wetter than the manufacturer’s instructions, or repeatedly adding water as it starts to stiffen, can weaken the finished joint and contribute to shrinkage cracking. Always measure the water, respect the working time and avoid remixing grout that has passed its usable life.
5. The grout dried too quickly
High temperatures, draughts and absorbent tiles can cause premature moisture loss. The result may be fine cracks that run across joints rather than just beside tile edges. Follow the manufacturer’s instructions for temperature, mixing, cleaning and curing conditions instead of trying to speed the job up with heaters.
6. The wrong grout was used
Grouts are designed for specific joint widths, substrates and exposure conditions. A product unsuitable for a wide joint or an area with expected limited movement may fail early. Check the exact joint width and the grout’s technical data sheet rather than choosing by colour alone.
7. Moisture damage has affected the substrate
Leaks and repeated wetting may cause water-sensitive boards or timber to swell, damaging tile bonds and grout lines. Look for stained plaster, swollen skirting, mould, softness or a persistent musty smell. In showers, repairing grout without investigating a failed seal or tanking system may conceal a more serious problem.
How to tell which cause is most likely
| What you see | What to investigate |
|---|---|
| Fine cracks across recently grouted joints | Mix ratio, cleaning method, drying conditions and grout suitability |
| Cracks running along tile edges | Substrate movement, weak bonding or lack of movement joints |
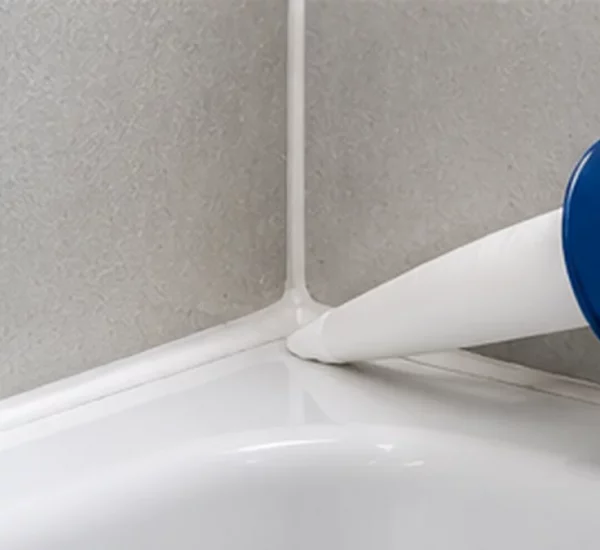
| Cracks at wall corners or along a bath | Whether the detail needs an appropriate flexible sealant joint |
| Cracks with loose or lifting tiles | Tile adhesion and the stability of the background |
| Repeated cracking and damp patches | Water ingress, waterproofing and potential substrate damage |
How to repair cracked grout step by step
Only attempt a local grout repair when the tiles are firmly bonded, the background is sound and the source of cracking has been identified.
- Inspect the surrounding tiles. Check for movement, lifted edges, dampness and failed flexible seals. Deal with those first.
- Confirm that the joint should contain grout. If it is a designed movement joint or change-of-plane joint, use the specified flexible sealant or movement profile rather than rigid grout.
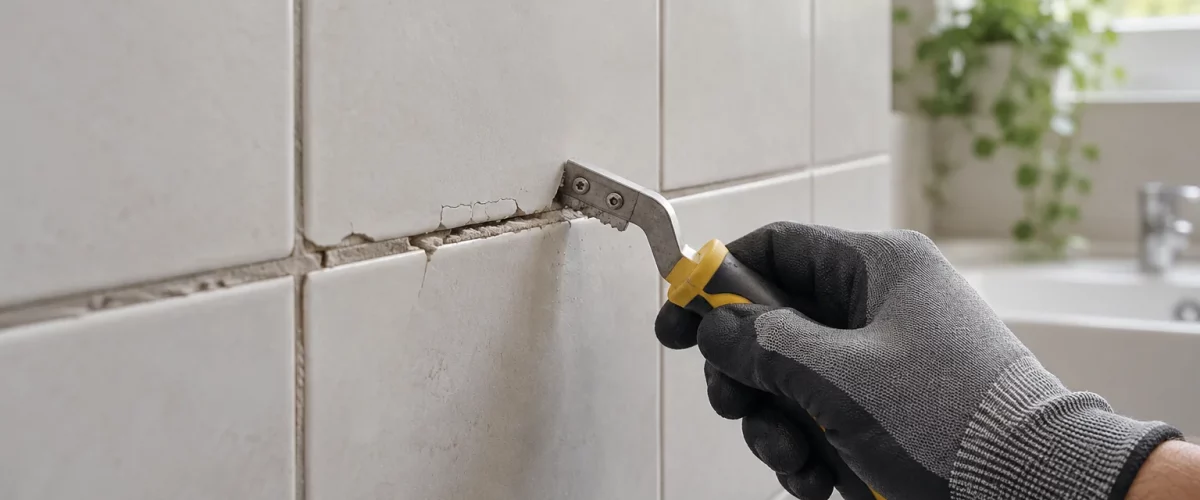
- Remove the damaged grout. Use a grout rake or carefully controlled oscillating grout-removal blade without chipping the tile edges or damaging waterproofing. Follow the replacement grout manufacturer’s minimum removal-depth requirement.
- Clean and dry the joint. Vacuum out dust and remove loose particles. Do not leave the joint waterlogged.
- Choose compatible grout. Match the joint width, tile type and location, especially in wet or heated areas.
- Apply and clean correctly. Mix precisely as directed, press the grout fully into the joint and clean with a damp—not soaking—sponge at the time specified.
- Allow it to cure. Protect the repair from water, traffic and aggressive cleaning for the period given on the product data sheet.
For a full walkthrough, see our how to regrout tiles guide.
When should you call a professional?
Ask a competent tiler or building professional to investigate if cracks spread across a large floor, a tile moves underfoot, a shower leaks, or the same joint cracks again soon after repair. If there are widespread structural cracks, unusual movement or signs of a substantial leak, the underlying structure or waterproofing may need specialist attention.
Frequently asked questions
Can I put new grout over cracked grout?
Usually not as a thin surface coat. Remove the defective grout to the depth required by the replacement product and investigate the cause first. A skim coat over loose or moving material often fails quickly.
Does cracked grout mean my shower is leaking?
Not necessarily, but it is a reason to inspect the shower. Tiles and grout should not be relied on as the waterproofing system; the underlying tanking and seals protect the building.
Is flexible grout enough to stop cracks?
No. A grout formulated to accommodate limited movement cannot correct an unstable floor or replace correctly positioned movement joints.
Why does the grout crack again after repair?
Repeated cracking usually means the underlying cause remains: movement, unsuitable grout, moisture, or defective tile adhesion. Stop repeating the same patch repair and investigate the installation.
Key takeaway
Fix the cause of cracked grout, not just the visible crack. Once the tiles and background are stable, a careful local regrout can provide a neat, lasting repair.
Technical reference: BAL Adhesives: Common Grouting Issues; The Tile Association: Movement Joints.