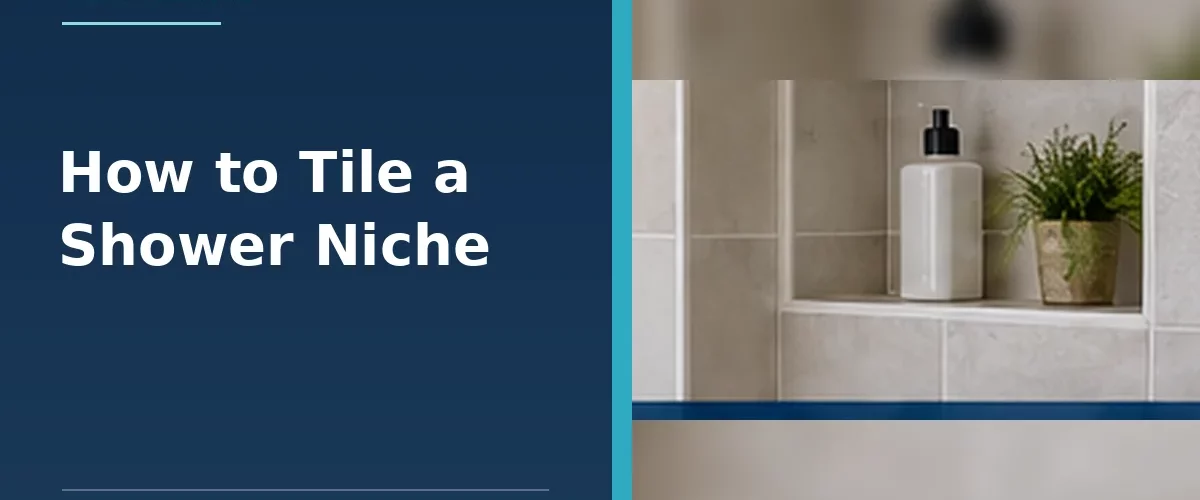
A shower niche needs complete waterproofing and a shelf that drains towards the shower, before you worry about the decorative tile pattern. Its many internal corners and horizontal surfaces make it more complicated than a flat wall. A neatly grouted niche can still leak if the waterproof layer is incomplete.
Should you use a preformed niche or build one?
Preformed waterproof niches are manufactured to integrate with specified waterproofing systems and can simplify construction. A site-built niche may suit unusual dimensions, but framing, suitable board, movement and tanking details need to be designed correctly. Do not cut structural studs or wall components without establishing whether alterations are permitted.
Plan the niche before tiling
- Choose the position. Allow for shower pipework, existing services, frame members and accessible reach.
- Check your tile module. Align niche edges with intended grout lines where practical to reduce narrow or awkward cuts.
- Decide on trims. Consider mitred tiles, suitable edging profiles and the thickness of finished tile plus adhesive.
- Design the shelf fall. Horizontal surfaces should slope gently towards the shower rather than hold standing water; follow the waterproofing and niche manufacturer’s specified fall.
- Confirm waterproof integration. The niche, surrounding wall membrane and pipe penetrations need a continuous compatible system.
How to tile a shower niche step by step
- Install or construct a suitable, rigid niche according to the manufacturer’s instructions.
- Seal all board joints, seams, fixings, internal corners and transitions to the shower membrane using approved components.
- Check waterproofing continuity and cure; follow any specified testing before tiling.
- Dry-lay the back wall, side pieces, top and bottom shelf to plan balanced cuts and edge details.
- Fix the back panel or back tiles first if the selected layout permits, using adhesive approved for the membrane.
- Fit the bottom shelf with the required outward fall, then complete the sides and top, checking for clean junctions.
- Finish exposed edges with compatible trims or accurately prepared tile edges.
- Allow adhesive to cure, grout joints and use the specified flexible materials where movement joints are required.
How do you stop water sitting on the shelf?
The shelf surface needs a gentle fall towards the opening. A level shelf can trap water and soap residue, encouraging staining and stressing joints. Do not try to create the required fall by building thick blobs of tile adhesive under a tile; design it into the substrate or follow the niche manufacturer’s method.
What tiles work well inside a niche?
Mosaics are easier to use on some small surfaces, while larger tiles can create a clean, continuous look with fewer grout joints. Make sure the chosen tiles and backing materials are approved for wet areas and the niche dimensions.
Common mistakes
- Cutting into a structural wall without checking.
- Leaving internal corners unsealed beneath the tiles.
- Installing a flat shelf that holds water.
- Using grout as a replacement for waterproofing.
- Making narrow cuts at eye level when a small layout adjustment would avoid them.
Frequently asked questions
Does a shower niche have to be waterproofed?
Yes. Its waterproof layer must connect correctly to the surrounding shower tanking system.
Can I add a niche to an existing tiled shower?
Possibly, but retrofitting requires opening the wall and reinstating continuous waterproofing. A competent professional is recommended.
Do you tile the back or sides first?
Either can work when the joint and overlap details suit the system; plan the full set-out before fixing.
Should a shower niche have silicone corners?
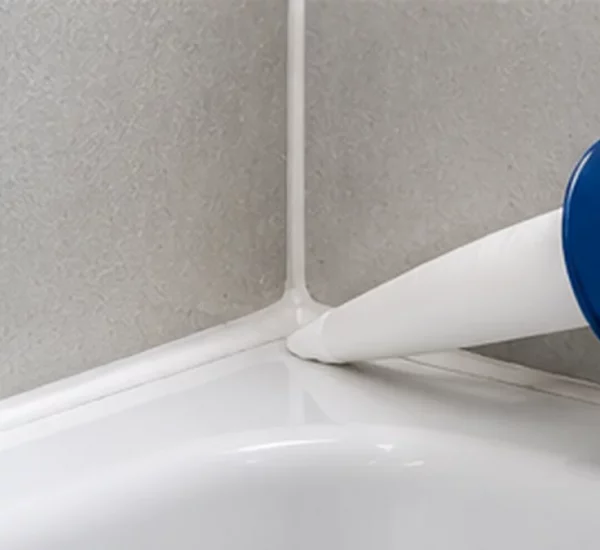
Use the movement-joint treatment specified by the tile and waterproofing system, rather than relying on generic silicone for the underlying waterproof layer.
Read our shower waterproofing guide and finishing tile edges and corners.